July 25, 2026
May 6, 2026
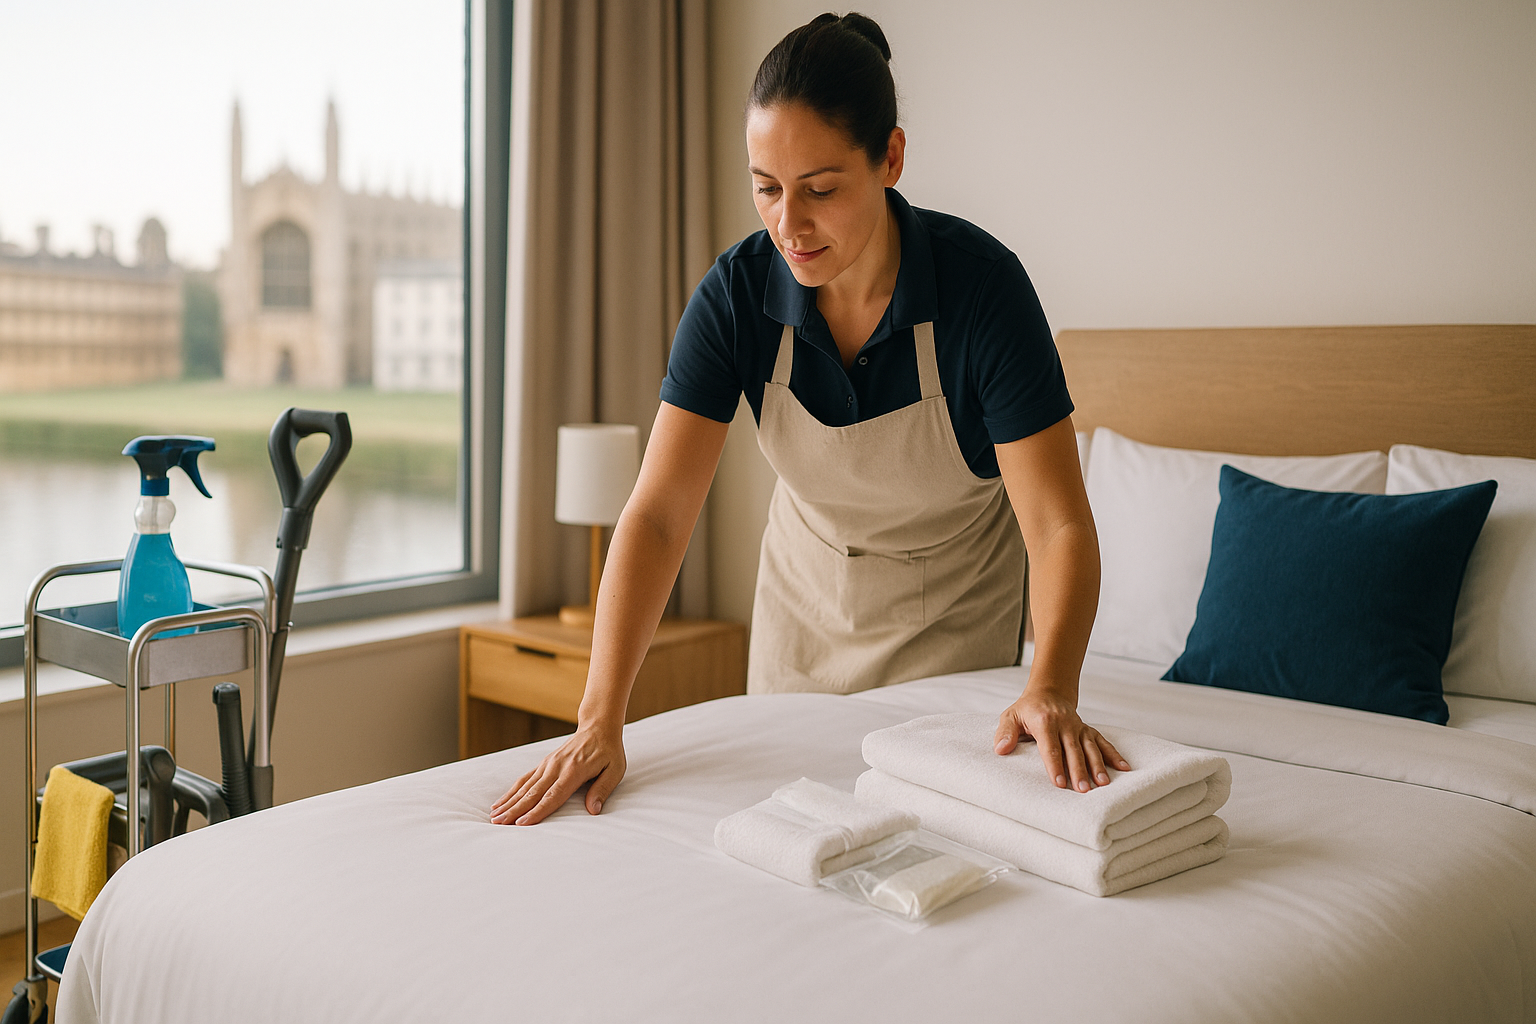
A good scrub can make a room sparkle, but true deep cleaning is about all the places your weekly routine skips. Think ceiling fan blades that quietly drop dust, the dishwasher filter that breeds odors, the baseboards your mop misses, and the window tracks where grit builds layer by layer. The secret to getting it all done without overwhelm is a smart plan. A clear deep cleaning checklist turns guesswork into progress, room by room, in a way you can actually finish.
This room-by-room printable guide shows you exactly what to clean, in what order, and how often. It strips the process to essentials, adds a few pro tricks, and keeps tasks grouped so you do not bounce around or burn out. You will set up once, work top to bottom, and end with a house that feels lighter and looks brighter.
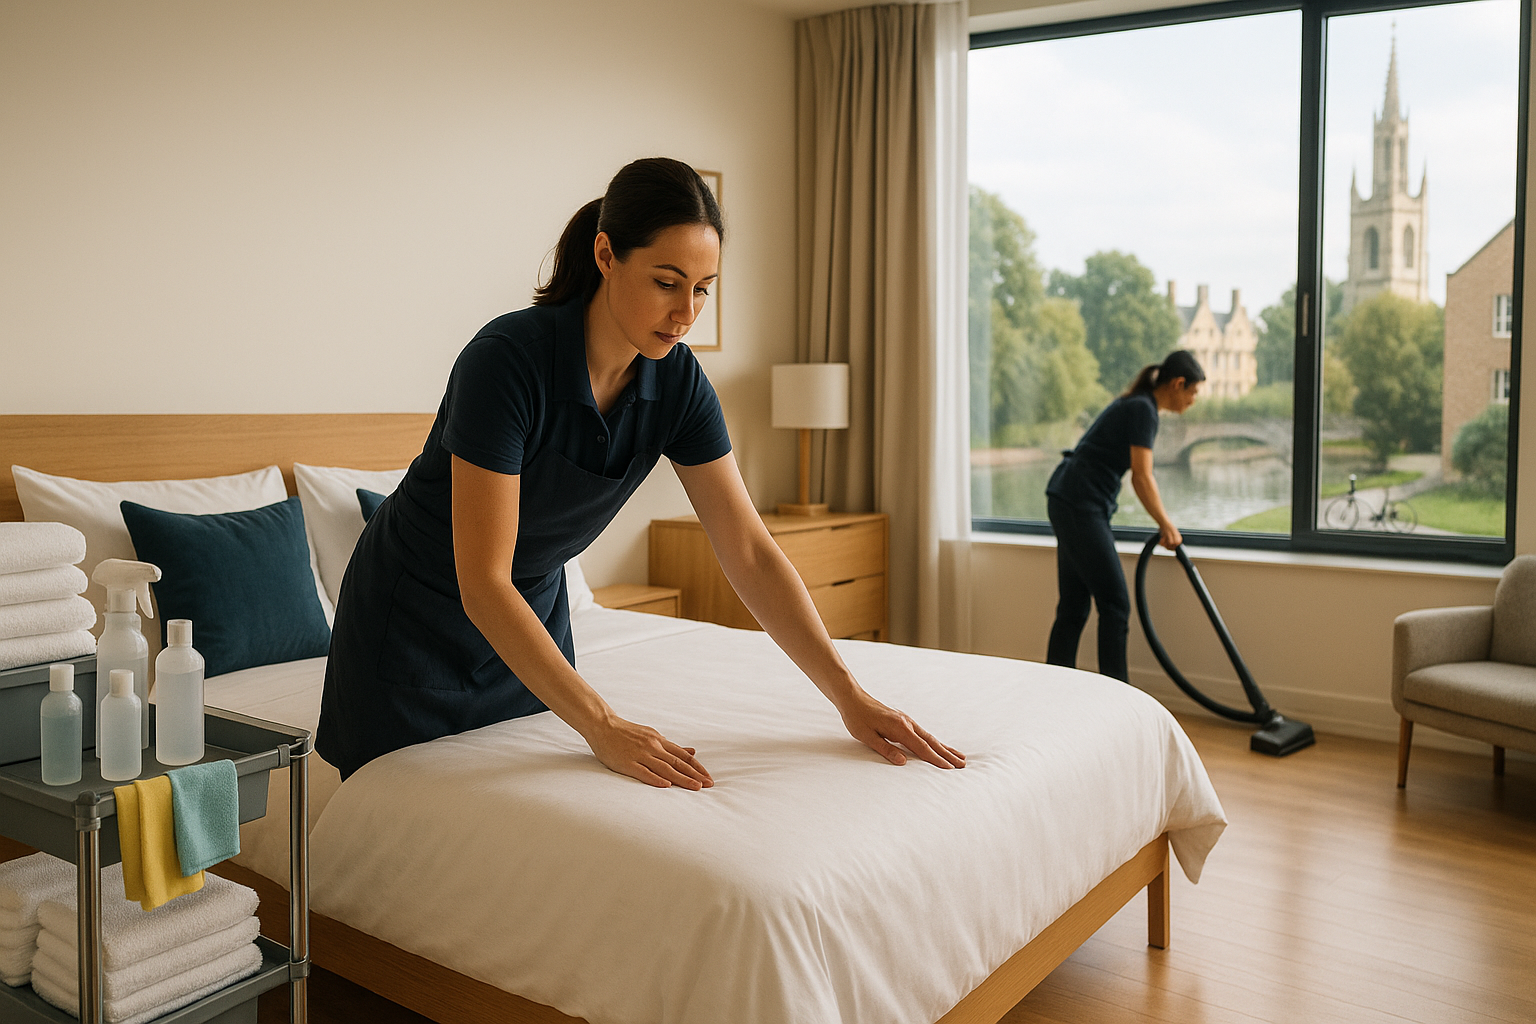
Start with timing. Plan a half day for a small place or a weekend for a larger home. Work one room to completion instead of nibbling at the whole house. That gives you visible wins and prevents tools from scattering everywhere.
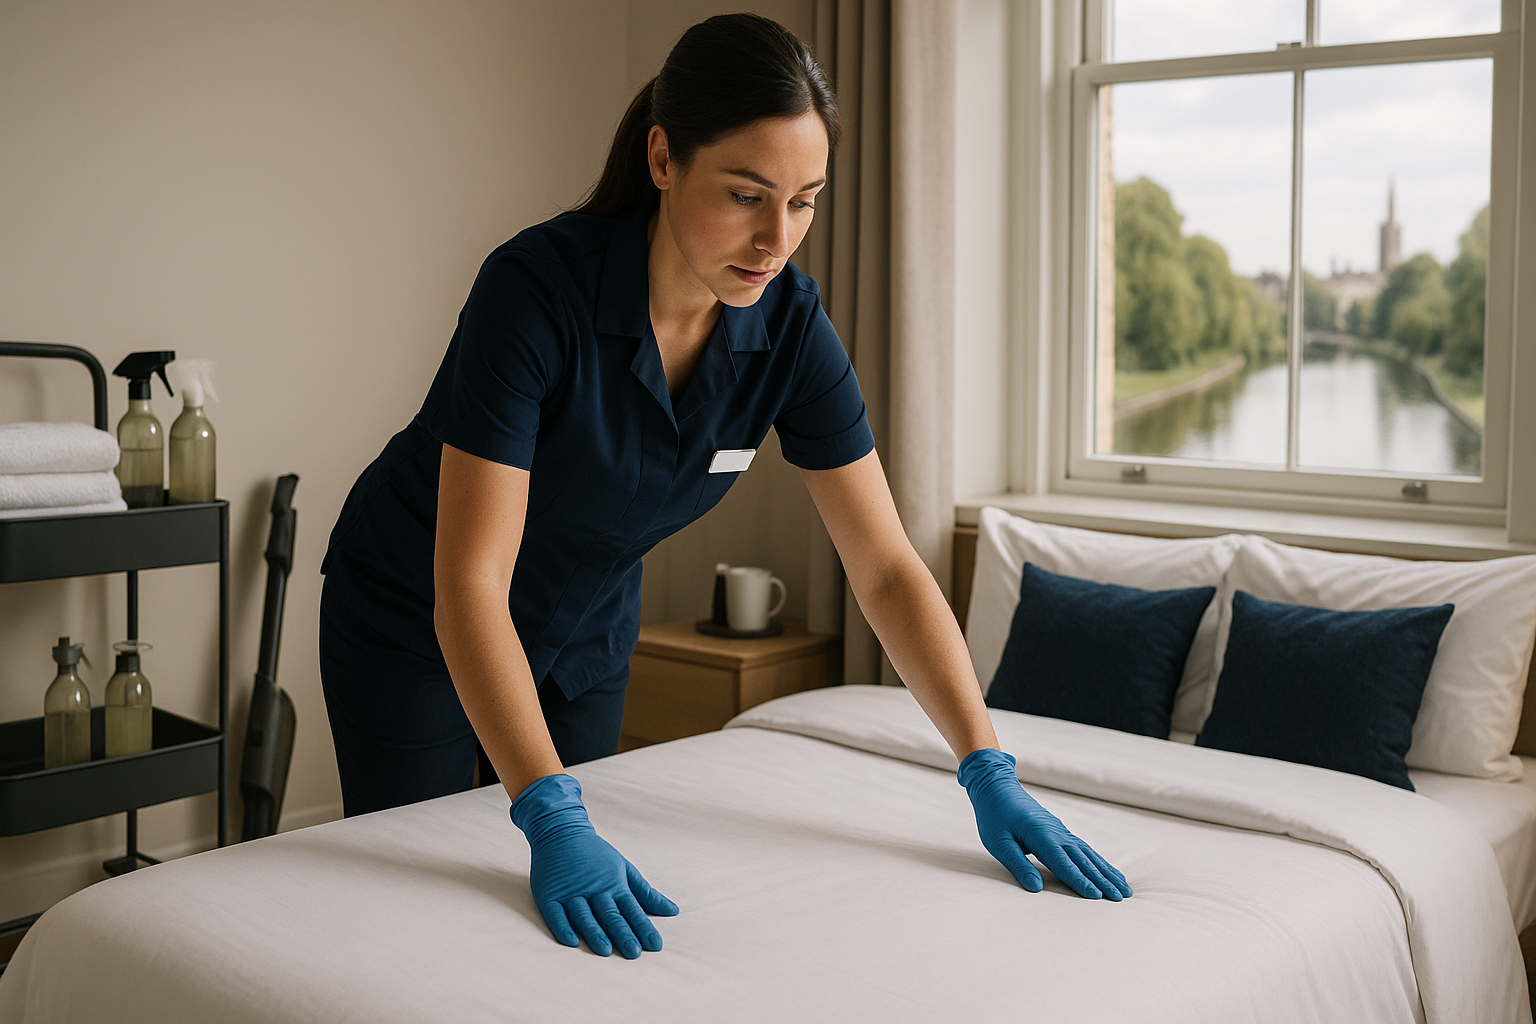
Gather supplies before you begin. A caddy saves steps. You will want microfiber cloths, scrub brushes in two sizes, a long-handled duster, a bucket, vacuum with attachments, mop, dish soap, white vinegar, baking soda, an all-purpose cleaner, a degreaser for the kitchen, a disinfectant, glass cleaner, wood polish or conditioner, and gloves. If you have stone counters, use a pH-neutral cleaner rather than vinegar.
Then set your order. The golden rule is to go high to low, dry to wet, and cleanest room to dirtiest. Start with bedrooms and living areas so dust settles before you mop. Finish with bathrooms and the kitchen since those need the most disinfecting.
Finally, give yourself a reset step between rooms. Empty the trash, rinse dirty cloths, and return tools to the caddy. That small pause keeps momentum.
The kitchen collects grease, crumbs, and hidden smells. Begin with the places that take time to soak, then move to surfaces.
Pull the stove grates and knobs, and soak them in warm soapy water. While they loosen, degrease the range hood filter. Many are dishwasher safe, but check your manual. Clean the hood interior and exterior, including the top where sticky dust lives.
Wipe the backsplash and cabinet fronts from top to bottom. Use a degreaser on upper cabinets near the stove, then switch to a mild cleaner elsewhere. Open each cabinet and vacuum crumbs from corners, then wipe shelves.
Empty the refrigerator. Toss expired items, remove shelves and bins, and wash them in the sink. Wipe down interior walls, gasket seals, and the top of the fridge. Vacuum the condenser coils if accessible, which improves efficiency.
Clean small appliances. Descale the coffee maker with a vinegar cycle if the manufacturer allows it, then flush with water. Wipe the toaster crumb tray and the microwave interior. For microwave splatters, heat a bowl of water with lemon slices for five minutes, then wipe.
Scrub the stove top, then the oven. If you avoid heavy chemicals, make a paste of baking soda and water for the oven cavity, let it sit, then wipe and finish with a vinegar spritz. Remove and clean the oven racks in the sink or tub.
Empty the dishwasher filter and clean the door gaskets. Run a cleaning cycle with vinegar or a dishwasher cleaner for a fresh smell. Do not mix vinegar with bleach-based products.
Finish with counters, sink, faucet crevices, and the garbage disposal. Drop in ice cubes and a lemon slice while running the disposal for a quick deodorizer. Sweep and mop the floor, getting under appliances if you can safely move them.
Moisture invites mildew, so bathrooms need method and patience. Start with ventilation. Dust the fan cover and wash it if removable. Let a mildew cleaner sit on grout lines while you tackle other areas.
Empty the vanity and wipe shelves and drawer organizers. Clean the mirror with a lint-free cloth, then the light fixtures. Remove glass globes to wash out dust that dulls brightness.
Scrub the shower from the top tile down. Use a grout brush on corners and shampoo niches. Remove and soak the showerhead in vinegar if buildup is heavy, then rinse and polish with a dry cloth. Replace a moldy caulk line rather than trying to bleach it white.
Disinfect the toilet, including the base, hinges, and behind the seat where splashes settle. If you can remove the seat, do it for a thorough clean. For hard water rings, let a pumice stone do the work instead of harsh chemicals.
Wipe walls and baseboards, then clean the vanity top and faucet aerator. Empty the trash, launder bath mats and shower curtain liners, and finish with the floor. Keep the door open after you clean so moisture escapes and the shine lasts longer.
Bedrooms hide lint and dust you rarely see. Strip the bed and launder all bedding, including pillow protectors and the duvet cover. Vacuum the mattress with the upholstery attachment, then spot clean stains and rotate the mattress as recommended by the maker.
Dust every surface high to low. That includes the top of door frames, picture frames, mirrors, lamp shades, and headboard slats. Pull nightstands away from the wall and vacuum behind them. Wipe drawer pulls and remotes, then go after closet shelves and hanging rods.
Sort one closet shelf or drawer as you clean to harvest quick wins. A minimal declutter during deep cleaning prevents simply reshelving clutter.
Finish by vacuuming under the bed and along baseboards. If you have hardwood, use a dusting pad under furniture glides to pull lint before you mop.
Start with air circulation. Clean the ceiling fan blades with a pillowcase to trap dust. Dust air vents and replace filters to help reduce future buildup. Wipe window sills and clean blinds or shades with an up-and-down motion that follows the slat.
Vacuum upholstery, lifting cushions and using the crevice tool along seams. Spot treat stains according to the fabric code. If your cushions have removable covers, launder them if the care tag allows.
Dust electronics and the back of the TV where static attracts fuzz. Wipe remote controls and game controllers with a disinfecting wipe. Clean light switches, door handles, and railing tops where hands travel.
Pull furniture away from walls enough to vacuum edges and cords. Return pieces, adjust area rugs, and finish with a floor clean that matches the surface. A detailed pass on baseboards makes the whole room look freshly painted.
Wipe the table and chairs thoroughly, including the undersides where sticky drips hide. Clean a china cabinet with a soft cloth, then polish wood surfaces if they are due. Wash any display glass and remove dust from decor rather than just going around it.
If you have a rug under the table, vacuum slowly in both directions. A quick lift of the rug to clean the floor underneath prevents grit from grinding into fibers.
These areas collect outdoor grit. Shake or vacuum doormats, then mop the floor with extra attention to corners. Clean the door, knobs, and threshold. Wipe baseboards along hallways, and dust frames and hallway lights that run through the center of the home.
A clutter checkpoint here matters. Offer a basket for mail, a tray for keys, and enough hooks to prevent piles. Deep cleaning lasts longer when items have a landing spot.
Lint is more than a mess, it is a fire hazard. Unplug the dryer, remove the hose if you can, and vacuum lint from behind and in the vent path. Clean the washer gasket and detergent drawer, then run a cleaning cycle. Wipe shelves and decant products into labeled containers if you prefer a tidy look.
Do not forget the sink. It often becomes a catch-all. Scrub it and the faucet, then sweep and mop.
Dust monitors, wipe keyboards and mice, and empty the shredder. Organize cables with ties or clips. Clean the chair thoroughly, especially the armrests, and vacuum or mop the floor area beneath the desk where crumbs collect.
Paper piles stall cleaning. Set a five-minute timer to sort a small stack into keep, scan, and recycle, then move on.
Wash frequently handled toys according to material. Hard toys can usually handle warm soapy water, while plush items may be machine washable. Wipe drawer fronts and door edges where little hands touch.
Clean under furniture, dust shelves, and wipe window locks. Rotate a few toys to a closet bin to reduce visual clutter, then label bins so kids can help maintain the reset.
Clean glass on a cloudy day to prevent streaks. Work side to side inside and up and down outside so you can see which side needs more work. Vacuum window tracks, then use a small brush with a bit of vinegar to loosen grime in corners. Finish with a dry cloth to prevent dust from sticking again.
Leave this for last. Vacuum carpets slowly and overlap passes to lift more dirt. If you plan to shampoo, pre-treat spots and move furniture legs onto foil squares while they dry. For hard floors, vacuum before mopping to remove grit. Use a damp mop, not a wet one, especially on wood. Wipe baseboards by hand for a crisp finish.
Not all surfaces want the same cleaner. Stainless steel prefers a microfiber cloth and a cleaner made for steel, always wiped with the grain to prevent haze. Never use an abrasive powder on it.
Natural stone like granite and marble does not like acidic cleaners. Use a pH-neutral stone cleaner and keep vinegar on the shelf for other jobs. Seal stone annually or as your installer recommends.
Glass responds to a mix of water and a small amount of dish soap for the first wipe, then finish with a glass cleaner or diluted vinegar. Always use a lint-free cloth.
Wood floors and furniture need a light touch. Dust first, then use a cleaner approved for the finish. Water left to sit can cause swelling or dullness. When in doubt, less liquid is safer.
Upholstery tags tell the truth. W means water-based cleaner is safe. S means solvent only. WS means either works. X means vacuum only. Testing a hidden area avoids a costly mistake.
Work top down so dust falls to places you have not cleaned yet. Start dry for speed. Dusting and vacuuming first saves you from moving grit around with wet products later.
Let products soak while you do other tasks. Oven cleaner, grout cleaner, and degreasers work best when they sit. Apply them, then clean a different area for ten minutes before scrubbing. You will do less elbow work and get a better result.
Group similar motions. Wipe all switches in a room at once, then all door handles, then all baseboards. Muscle memory speeds you up.
Contain small parts. When you remove hardware, place screws and pieces in a cup on the counter. It beats crawling on the floor later.
Music helps, but so does a timer. A 25-minute work block followed by a five-minute reset keeps energy steady. It also stops perfectionism from turning into procrastination.
Ventilate bathrooms and kitchens while using strong cleaners. Do not mix bleach and vinegar or ammonia, since the fumes are dangerous. Wear gloves to protect skin, and store products away from kids and pets.
If you prefer gentle options, white vinegar, dish soap, baking soda, and hydrogen peroxide handle a surprising amount of work. Peroxide brightens grout, a paste of baking soda and water lifts oven gunk, and a few drops of dish soap in warm water cuts grease on most surfaces. Always test in a hidden area.
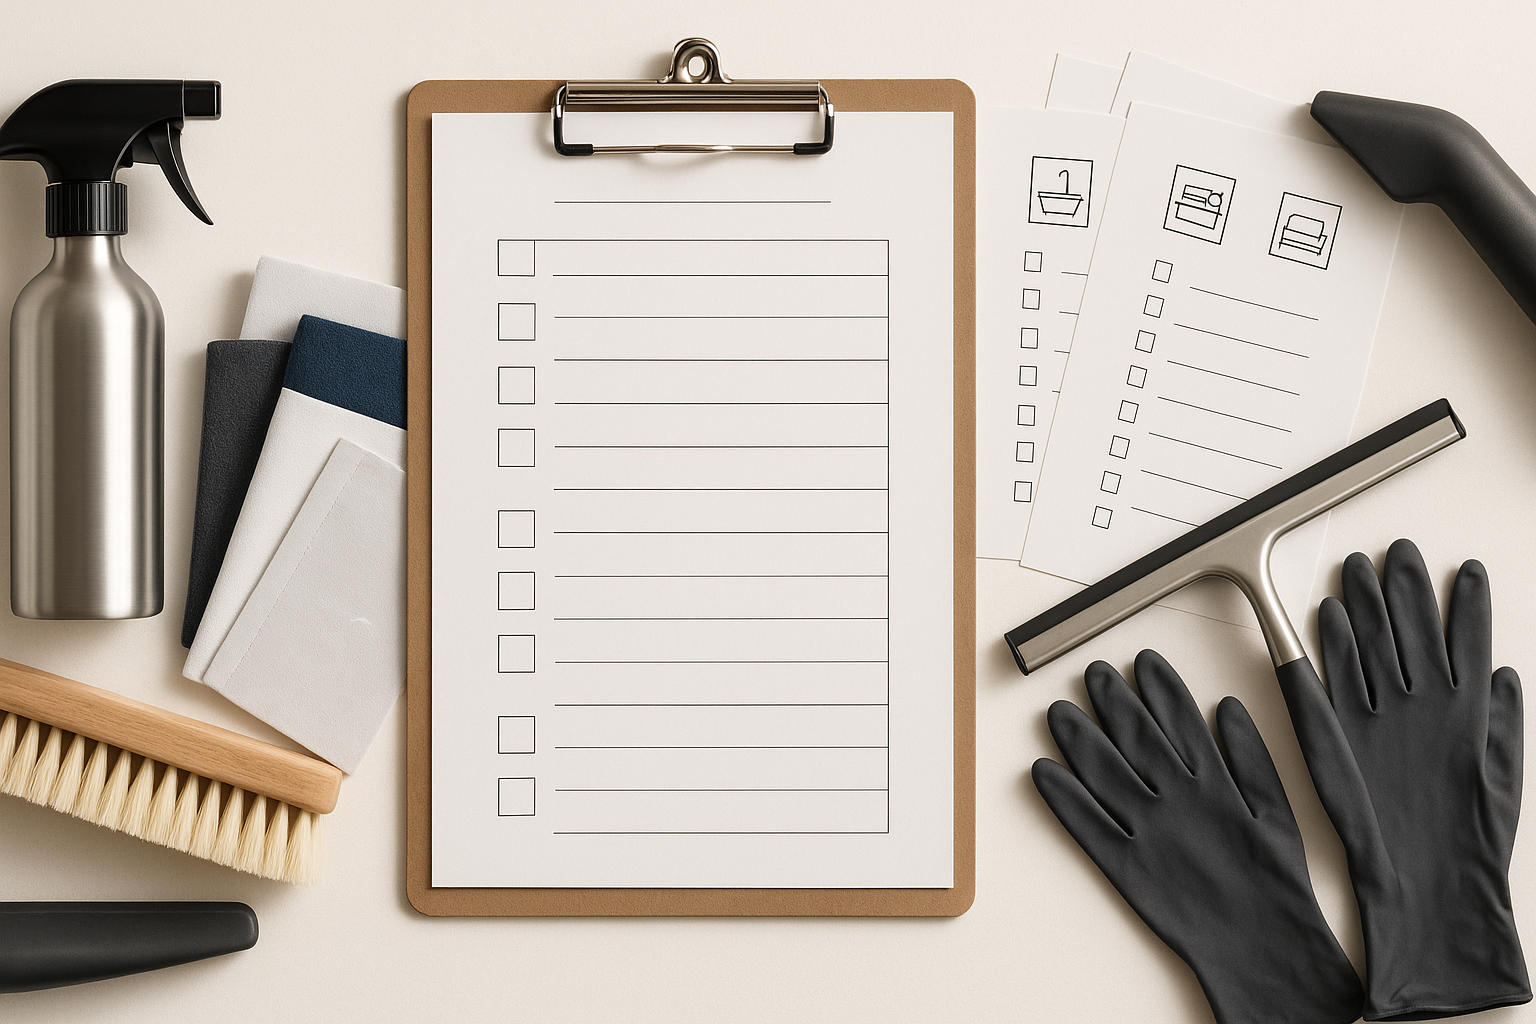
Copy the block below into a document and print. Use it as a quick pass when you want a clear start and finish without rereading the whole guide.
Some tasks are seasonal, others pay off monthly. The kitchen benefits from a deep pass every one to two months, with a monthly fridge clean and a quarterly oven scrub unless you cook a lot. Bathrooms appreciate a monthly grout and fan check, especially in humid homes. Bedrooms feel fresher with a quarterly mattress vacuum and flip, while weekly laundering of sheets keeps dust down.
Living spaces can ride a quarterly deep clean, with a monthly ceiling fan and vent dust if allergies are an issue. The entryway and laundry room do well with a monthly reset. Windows and tracks are pleasant in spring and fall. Plan a yearly full-circuit run where you move large furniture and clean behind appliances.
Rather than treat this as a strict calendar, anchor rooms to natural markers. Oven before the holidays, windows at the first warm weekend, mattress at the time change. Routines that piggyback on life tend to stick.
If you see widespread mold, heavy smoke residue, or flooring that needs restoration, a pro is worth the spend. Rugs and upholstery that have deep stains or pet odors respond better to hot water extraction than consumer machines. Chimneys, dryer vents with long runs, and high cathedral windows also land in the pro column for safety.
For everything else, consistency beats heroics. Two focused afternoons a season deliver a home that smells clean, looks calm, and is easier to maintain.
A deep cleaning checklist is not just a plan for a big clean, it is a way to make your space work better week after week. Work the rooms in a smart order, let products do some of the scrubbing, and finish each space before you move on. The printable guide gives you a crisp path to follow. Your home will thank you with clearer air, brighter light, and a reset that actually lasts.