September 20, 2026
June 5, 2026
Hook
A single missed speck of product during a changeover can trigger a product recall, a line shutdown, or a costly restart that wipes out a day's production. Changeover cleaning is where speed meets risk control. When teams treat it as an afterthought, the consequences show up in customer complaints, regulatory citations, and lost capacity.
Introduction
Changeover cleaning is the set of tasks that prepare equipment, lines, and environments for a new product after the previous production run finishes. The goal is simple: remove residue, control allergens, and reduce microbial load quickly and safely so production can resume without compromising quality. This article offers a practical, step-by-step changeover cleaning checklist and explains how to perform each step with the balance of speed and safety that operations require. You will find guidance on planning, execution, verification, staffing, and continuous improvement, with clear examples that apply to food, beverage, and pharmaceutical settings.
Why changeover cleaning matters
A fast changeover that sacrifices thorough cleaning is a false economy. Cross-contamination risks vary by product. Allergens and strong-flavored ingredients can taint the next batch at trace levels. Bacteria left in crevices can multiply rapidly, especially in wet environments. Regulators expect documented cleaning procedures and effective verification. Beyond compliance, consistent cleaning saves money by preventing rework, reducing scrap, and preserving brand reputation. A reliable changeover cleaning routine also shortens downtime, increases throughput, and makes scheduling predictable.
Before you start: planning and risk assessment
Preparation determines how well the cleaning goes. Start with a written cleanability assessment of every piece of equipment that will be part of the changeover. Identify contact surfaces, seals, clamps, dead legs, and material changes that complicate cleaning. Classify product risks: allergen, high-fat, sugar-rich, or microbiologically hazardous. For allergen changeovers, require full segregation, validated removal steps, and possibly dedicated lines.
Create a changeover cleaning protocol that lists the exact steps for each product transition, the responsible role for each step, acceptable inspection criteria, and required tools and chemicals. Time the protocol in a dry run to set realistic expectations. If possible, align production scheduling so the highest-risk product follows a similar product to minimize cleaning complexity.
Safety and regulatory setup
Before any cleaning begins, control hazards. Lock out and tag out electrical and mechanical energy sources where disassembly is required. Verify confined spaces are safe before entry. Provide appropriate personal protective equipment according to the chemical and physical hazards you expect, including chemical-resistant gloves, splash goggles, aprons, and hearing protection where needed. Ensure chemical Safety Data Sheets are available near the staging area and every team member understands spill response and first-aid measures.
The changeover cleaning checklist
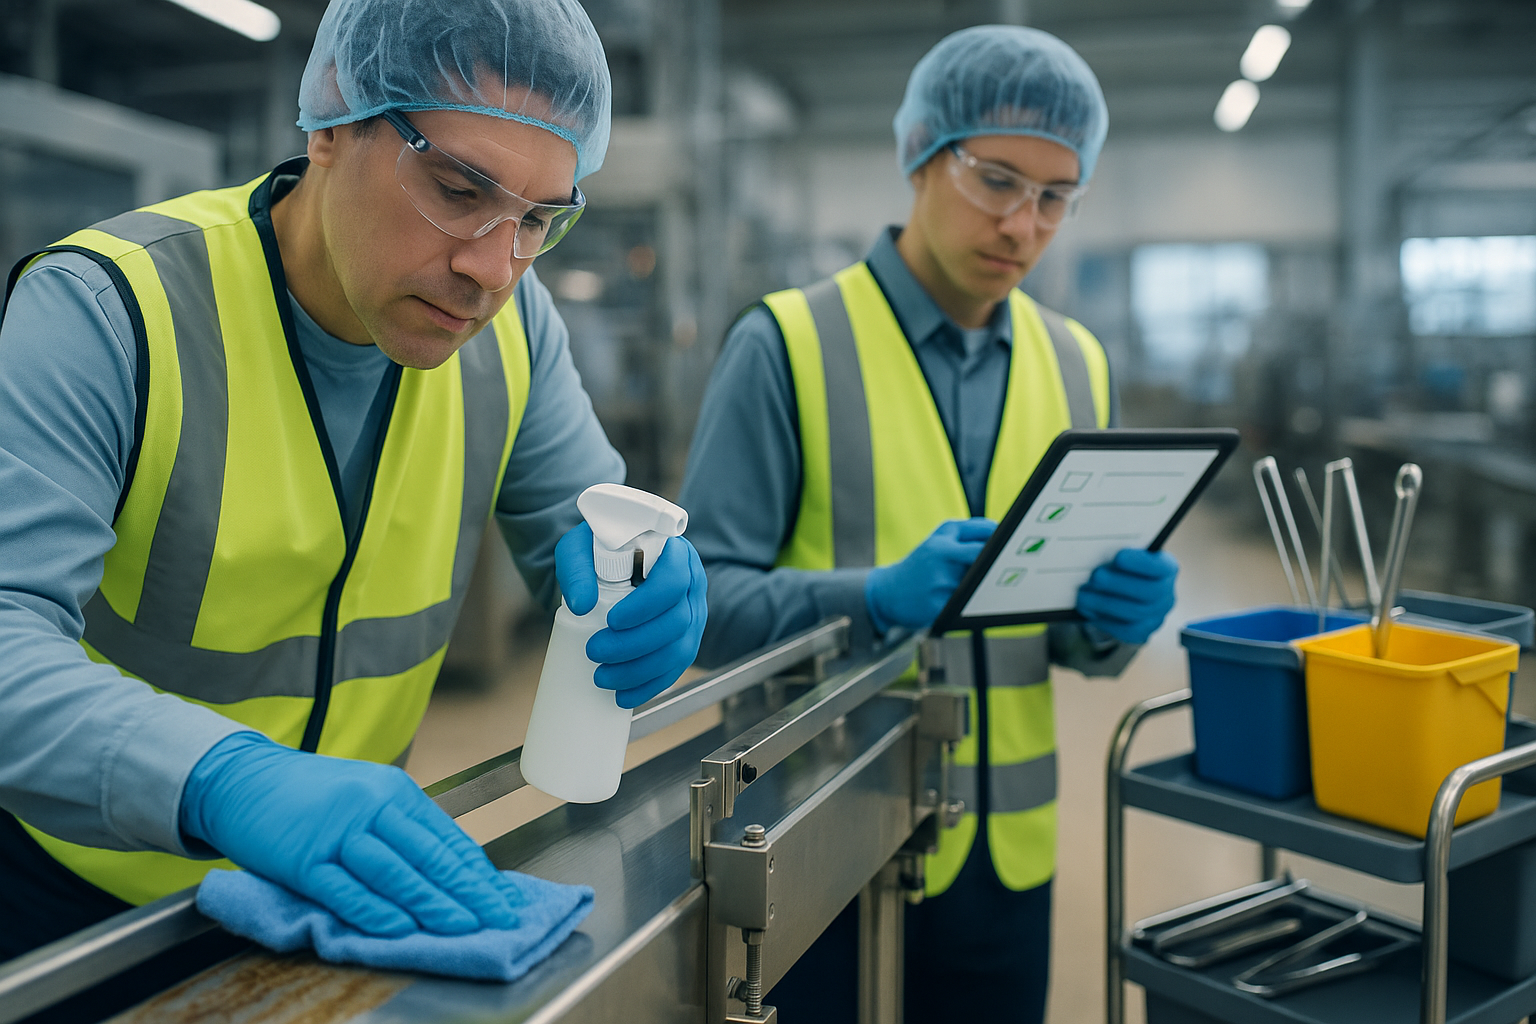
Use this checklist as a baseline. Tailor it to local SOPs, regulatory requirements, and product risks.
Secure and isolate the line Confirm the last batch is complete. Shut off feeders and conveyors. Remove product from hoppers and transfer points. Where possible, run out residual product to a reclaim container rather than leaving it in place. Post clear signage that the line is out of production.
Perform initial gross clean Remove large debris, packaging remnants, and bulk residue manually. Use dry methods first when appropriate, such as scraping or vacuuming, to reduce the load before wet cleaning. For allergen changeovers, avoid cross-contamination by using color-coded tools kept separate from non-allergen areas.
Disassemble as required Take apart guards, screens, and removable housings that block access to contact surfaces. Follow manufacturer guidance so you do not damage seals or bearings. Place small parts into organized trays or racks to prevent loss and speed reassembly.
Pre-rinse and degrease Conduct a warm pre-rinse to remove soluble residue. For high-fat or protein soils, apply an alkaline detergent or a degreasing agent according to concentration and temperature guidelines. Allow a short contact time so soils loosen.
Mechanical action and scrub Where residue is tenacious, apply mechanical action with brushes or scrapers designed for the material and surface finish. Use sanitary-design brushes that do not shed fibers. For pipework and conveyors, use piped-in spray balls or pressure washers calibrated to the correct pressure so you do not drive residue into crevices.
Thorough rinse Rinse until no visible foam, discoloration, or soap film remains. Use potable water for final rinses where required. For controlled environments, follow rinsing with a validated sanitizer rather than reintroducing contaminants from non-potable water sources.
Sanitize or disinfect Apply an appropriate sanitizer at validated concentration and contact time. Choose the agent to match the microbial risk and materials of construction. For food contact surfaces, quaternary ammonium compounds, chlorine-based sanitizers, or peracetic acid are common choices; follow compatibility rules to avoid corrosive damage. Document concentration checks and contact time.
Final rinse and dry If your sanitizer requires rinsing, perform a final potable rinse. Remove pooled water and dry surfaces as required. Use filtered compressed air sparingly and only when cleanliness of the air source is verified. Wet surfaces accelerate microbial growth, so verify drying with visual inspection and feel tests for inaccessible areas.
Reassemble and seal Reinstall guards, gaskets, and clamps. Torque bolts to specification. Replace disposable seals or O-rings when required. Perform a check to ensure no tools or foreign objects remain in the machine.
Validation and test Conduct visual inspection, ATP swab testing, or microbiological swabs according to the risk profile. For allergen control, perform allergen swabs or rapid tests where available. If results exceed thresholds, re-clean and retest before releasing the line.
Document and release Complete the cleaning record, noting who performed each step, start and end times, chemicals used, and test results. Only authorized personnel should sign off that the line is ready for production.
How to speed up changeovers safely
Speed comes from preparation, tools, and process design, not from skipping steps. Standardize tasks and create changeover kits that contain all required tools, gaskets, and chemicals. Use quick-release clamps and sanitary fittings to reduce manual disassembly time. Pre-stage cleaning chemicals in ready-to-use containers and store spare seals and brushes on the changeover cart.
Parallelize tasks where safe. One team member can disassemble while another prepares cleaning solution and verifies lockout. Train teams to perform role-based tasks so they work without confusion. Consider dedicated mobile foamers or CIP skids that can clean multiple machines with minimal setup.
If your operation has frequent product variety, invest in design changes that reduce cleaning needs. Smooth surface finishes, sloped surfaces that drain, and elimination of crevices and dead legs cut cleaning time substantially. A Single Minute Exchange of Die approach applied to cleaning elements can reduce minutes or hours from every changeover.
Verification methods that matter
Visual inspection is necessary but not sufficient. Rapid ATP bioluminescence tests measure organic residue in seconds and are useful for day-to-day checks. Microbial swabs cultured in a lab provide definitive evidence but take longer. For allergens, validated immunoassays provide actionable results. Determine acceptable limits for each test that align with regulatory guidance and customer requirements.
For critical products or sterile environments, maintain a validation protocol and keep historical trending. If a recurring failure pattern appears, escalate to root cause analysis rather than repeatedly re-cleaning.
Documentation and traceability
Recording matters more than you might expect. A clear cleaning log links each production batch to the exact cleaning steps taken before it started. Digital forms with timestamped photos and automated alarms for missed steps reduce human error. Keep cleaning SOPs, SDS, equipment manuals, and verification results together where auditors and shift teams can access them easily. Retain records according to regulatory timelines for your industry.
Training and team coordination
Effective cleaning depends on trained people. Conduct practical, hands-on training that covers chemical handling, correct mechanical action, inspection standards, and emergency response. Use competency checks and observed cleanings to reinforce standards. Hold brief pre-changeover meetings that confirm the plan, assign roles, and identify hazards. Encourage workers to report design issues that make cleaning hard; those reports should feed into engineering improvements.
Common problems and how to fix them
Residue that returns after cleaning often means a missed area or incorrect chemical use. If protein films persist, check detergent pH and temperature. If foaming appears in rinses, verify water quality and reduce detergent concentration. Persistent odors point to trapped material in dead legs or flexible tubing, which may need replacement or redesign. For recurring swab failures, map the contamination source by progressively isolating components during a controlled cleaning and test sequence.
Metrics and continuous improvement
Track a small set of meaningful KPIs. Measure average changeover time from production stop to restart, percentage of cleanings that pass verification on the first attempt, and costs associated with cleaning consumables. Combine these with product quality metrics such as allergen-positive events and customer complaints. Use root cause analysis for failures and apply small experiments to reduce time without increasing risk. Over time, these improvements compound and reduce both cost and variability.
Example scenario
A bakery must change from a wheat-based product to a gluten-free line. The changeover protocol begins with running out the remaining batter into a reclaim container. The team performs a dry scrape and vacuum to remove flour dust. Guards and hoppers are disassembled and placed in numbered trays. An alkaline wash removes oils from pans, followed by a heated water rinse. Surfaces receive an approved sanitizer and are left to air dry. ATP tests indicate a pass level and allergen swabs register below the gluten threshold. The line is reassembled and released within the target window because tools were pre-staged, and the team has practiced the sequence. The bakery avoided cross-contact and maintained production schedule.
Conclusion
A rigorous changeover cleaning checklist protects product integrity while keeping downtime predictable. The most effective programs combine detailed planning, correct chemicals and equipment, safety controls, reliable verification, and continuous training. Apply the checklist, measure results, and make small design and process changes that reduce cleaning burden. Over time the combination of disciplined execution and incremental improvements translates into fewer rejects, fewer interruptions, and a more efficient plant.